
Install Codex CLI on a Mac: installers, PATH and sandbox
21 October 2026 · codex · macos · install
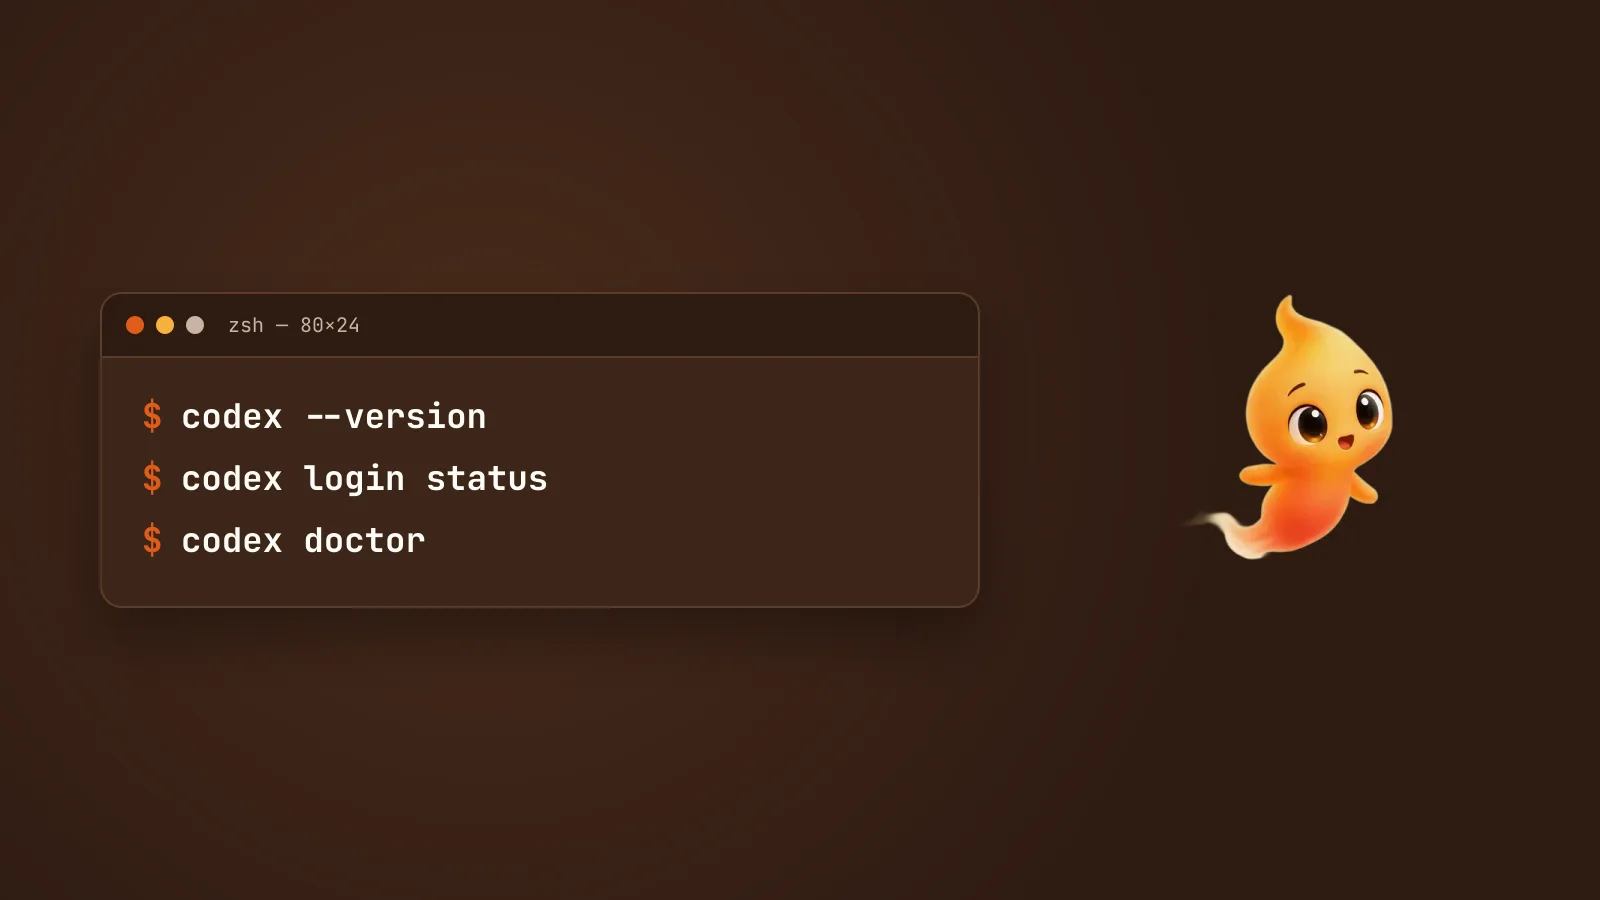
Codex CLI is OpenAI’s coding agent for the terminal. It’s open source (Apache-2.0), written in Rust, and ships a native build for Apple Silicon and for Intel Macs. Installing it takes one command. Installing it so that it stays updated, doesn’t fight another copy, and runs with the permissions you expect takes a little more thought.
The short answer
curl -fsSL https://chatgpt.com/codex/install.sh | shThen open a new Terminal window and run:
codexChoose Sign in with ChatGPT, and you’re in. The rest of this guide covers the choices hiding behind that command: which installer, which shell file it changes, what to do with an old copy, and what Codex is allowed to touch on your Mac.
Three ways to install
OpenAI documents three installers. They all give you the same codex
command, but they put it in different places and update differently:
| Installer | Command | Puts codex in |
Updates with |
|---|---|---|---|
| Standalone (recommended in the README) | curl -fsSL https://chatgpt.com/codex/install.sh | sh |
~/.local/bin |
codex update |
| Homebrew | brew install --cask codex |
Homebrew’s bin folder |
brew upgrade --cask codex |
| npm | npm install -g @openai/codex |
npm’s global bin folder |
npm install -g @openai/codex@latest |
Pick one. Every combination of two is a way to end up running a different version from the one you just updated.
Codex releases often, so expect Homebrew to occasionally trail a release behind GitHub for a day or two. If you want the newest build the day it ships, use the standalone installer.
The file the installer edits
This is where Codex differs from Claude Code. The Claude Code installer
puts its command in ~/.local/bin and tells you to add that to your PATH,
which is why command not found: claude
is such a common search. The Codex installer adds it for you. If
~/.local/bin isn’t already on your PATH, it appends a short block to a
shell startup file:
# >>> Codex installer >>>
export PATH="$HOME/.local/bin:$PATH"
# <<< Codex installer <<<
On a Mac, the file it picks depends on your shell:
- zsh, the default:
~/.zprofile, not~/.zshrc - bash:
~/.bash_profile - anything else:
~/.profile
Two things follow from that.
- Open a new window afterwards. The window you installed from read its
startup files before the block existed. That’s why
codexcan say command not found straight after a clean install, and work fine in a new window. - If you look for the line in
.zshrc, you won’t find it. It’s in.zprofile. That’s deliberate. It matches how Homebrew sets up its ownPATHon macOS, since Terminal starts zsh as a login shell and reads.zprofilefirst. If you ever move or remove the line, look for theCodex installermarkers.
You can change where it installs with CODEX_INSTALL_DIR, and where Codex
keeps its settings and sessions with CODEX_HOME. The default is
~/.codex.
Two copies of Codex
Run this before you do anything else:
which -a codexIf it prints more than one path, you have more than one Codex, and the first one listed is the one that runs. Common sources:
- an old Homebrew install in
/opt/homebrew/bin - an old npm install
- a copy bundled inside another app. Some desktop tools ship their own
codexin a private folder and put it on yourPATH.
The standalone installer helps here. If it finds a Homebrew or npm copy, it
offers to uninstall it for you. If you say no, it warns that your PATH
order will decide which codex runs, which is exactly the confusing state
you want to avoid. To remove the extras by hand:
brew uninstall --cask codex
npm uninstall -g @openai/codex
Watch for an npm copy that looks like Homebrew. If you installed Node
with Homebrew and then ran npm install -g @openai/codex, the codex
command lands in /opt/homebrew/bin too. It looks like a Homebrew install,
but it isn’t one, so brew upgrade --cask codex fails with
Cask 'codex' is not installed. The standalone installer makes the same
assumption. On a Mac it treats any codex under /opt/homebrew as
Homebrew’s, so its offer to uninstall it fails the same way. Check what you
really have:
ls -l "$(command -v codex)"If the arrow points into node_modules/@openai/codex, it’s npm. Remove it
with npm uninstall -g @openai/codex, or update it with
npm install -g @openai/codex@latest.
Then open a new window and check codex --version matches what you expect.
If a copy belongs to another app, leave it alone and make sure your own
install comes first on your PATH, or the other app may stop working.
Signing in
Run codex and choose Sign in with ChatGPT. A browser opens, you
approve, and Codex uses your ChatGPT plan. OpenAI lists Plus, Pro, Business,
Edu and Enterprise as the plans that include Codex. If you’re on the free
plan, check OpenAI’s current pricing page first. The free and Go plans are
described as including the desktop app rather than the CLI.
Prefer an API key? Pipe it in, so it never lands in your shell history:
printenv OPENAI_API_KEY | codex login --with-api-keyAPI key usage is billed at normal API rates, and the cloud features need a ChatGPT sign-in instead.
Two commands worth knowing:
codex login status
codex logout
codex logout removes both kinds of saved credentials. By default they
live in ~/.codex/auth.json. Treat that file like a password, and keep it
out of anything you sync or commit.
What Codex can touch on your Mac
This part matters more than the install. Codex runs its commands inside a sandbox, and on macOS that’s Apple’s Seatbelt, the same system that sandboxes Mac apps. What it allows depends on the folder:
- In a git repository, the default is the Auto preset. Codex can read files, edit files, and run commands inside the project folder. It asks before editing anything outside it or using the network.
- In a folder that isn’t under version control, it starts read-only.
- Network access is off by default inside the sandbox, even in Auto.
- Even inside the project,
.git,.codex,.agentsand.awsstay read-only.
You can change this per session with /permissions inside Codex, or with
flags:
codex --sandbox read-only
codex --sandbox workspace-write --ask-for-approval on-request
There’s also --dangerously-bypass-approvals-and-sandbox, whose short alias
is --yolo. It means no sandbox and no approvals at all. The name is
accurate. Don’t make it your default. If Auto feels too chatty, the fix is
usually a better-configured project, not removing the walls.
Curious what the sandbox actually blocks? codex sandbox runs any command
inside it, so you can see for yourself what fails. The exact form has changed
between releases. Current docs use codex sandbox macos <command>, with a
--log-denials flag that lists what was blocked, while older builds take
the command directly. codex sandbox --help shows the form your version
expects.
Settings and project instructions
- Settings live in
~/.codex/config.toml. A project can override them in its own.codex/config.toml, but only once you’ve marked the project as trusted. - Project instructions go in an
AGENTS.mdfile at the root of your repo, with optional extra ones in subfolders. The closer file wins. Run/initinside Codex to generate a starting one. A globalAGENTS.mdin~/.codex/applies to every project.
When something’s off
codex doctorIt checks your installation, config, sign-in and runtime, and is the first
thing to run before searching for an error. To update, use codex update
for the standalone install, or the Homebrew or npm command from the table
above.
Codex with Minnie
Minnie, the desktop pet we make, works with Codex as well as
Claude Code, Gemini CLI and Antigravity CLI. You talk to her and Codex does
the work in your project. One honest difference: Minnie’s ask-before-acting
prompts are wired to Claude Code. With Codex, the protection is Codex’s own
sandbox and approval settings described above, which is one more reason to
keep it on Auto rather than --yolo. Claude Code, Gemini CLI or Codex: one
desktop pet for all
covers exactly how each agent behaves with her, and Claude Code vs Gemini
CLI vs Codex on a Mac compares
the agents themselves.